LESSONS
Introduction

Lesson 1
Required Tools
I explain the essential tools needed for draping and pattern making the cowl neck bias draped dress. I cover everything from sewing machines and dress forms to various marking tools like pencils, tracing wheels, and tapes.

Lesson 2
Muslin Preparation
I demonstrate how to measure and cut the muslin pieces needed for the bodice and skirt draping. For the bodice, a bias cut piece is required, while the skirt uses straight grain fabric prepared with a special stitching technique to create the draped look.
Draping

Lesson 3
Draping the Skirt
In this session, I taught how to drape the skirt portion of the cowl neck bias draped dress. I placed the decorative drape piece on the princess line, smoothed it out, and pinned it in place, creating a draped effect on the front of the skirt.

Lesson 4
Draping the Bodice - Front
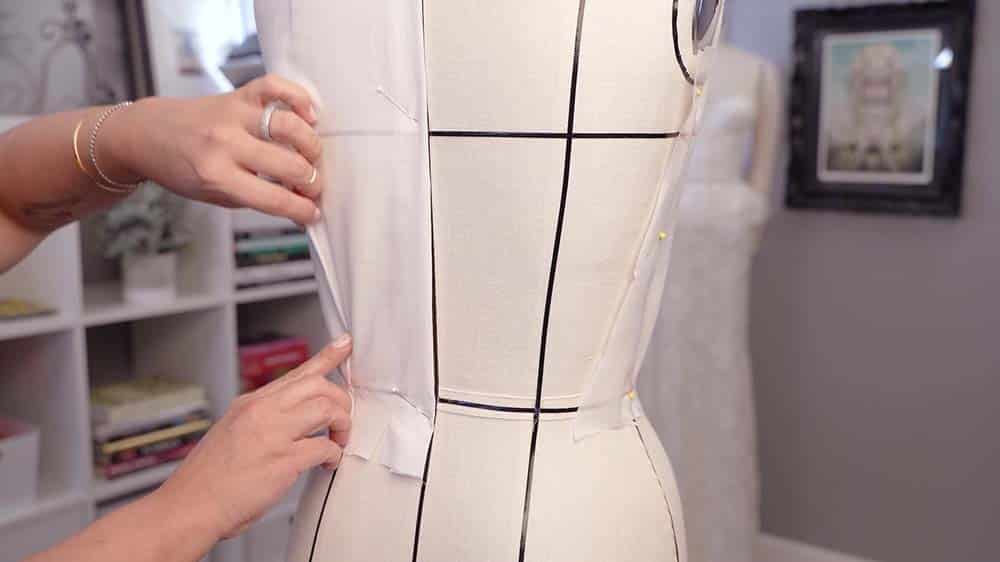
I demonstrate how to drape the front bodice of the cowl neck bias draped dress on the dress form. I start by aligning the bias line along the center front, deciding the width and depth of the cowl neckline, and pinning the shoulder points.
Lesson 5
Draping the Bodice - Back
I show the process of draping the back bodice, creating darts, and marking important points like the bust line, waistline, and armhole. I also discuss design decisions for the back neckline, opting for a classic boat neck style.
Patternmaking
Lesson 6
Preparing Bodice for Pattern Transfer
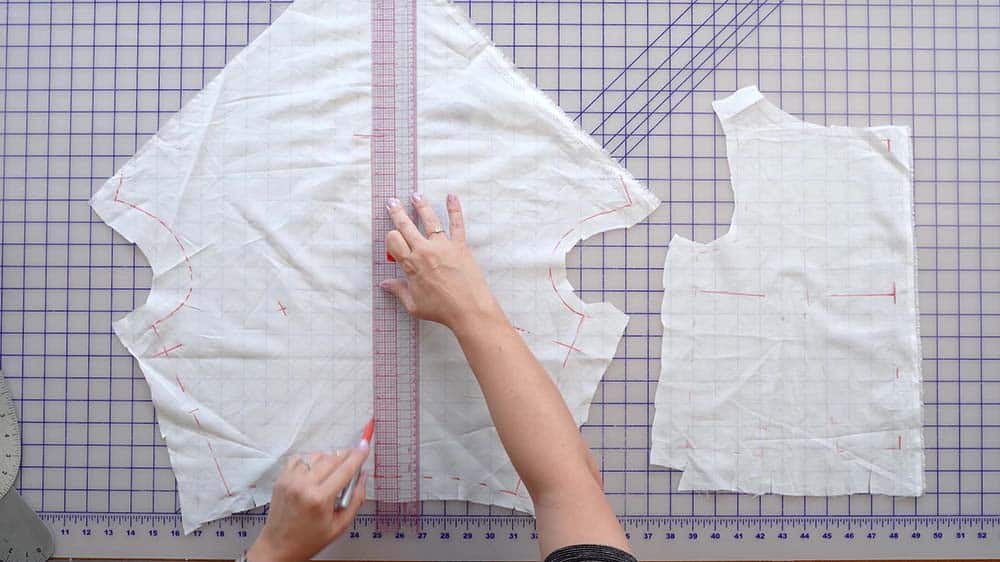
This crucial step involves removing the draped fabric from the dress form, laying it flat without stretching, and tracing the key lines and markings to create a pattern for cutting the final fabric pieces.

Lesson 7
Transferring Bodice to Pattern
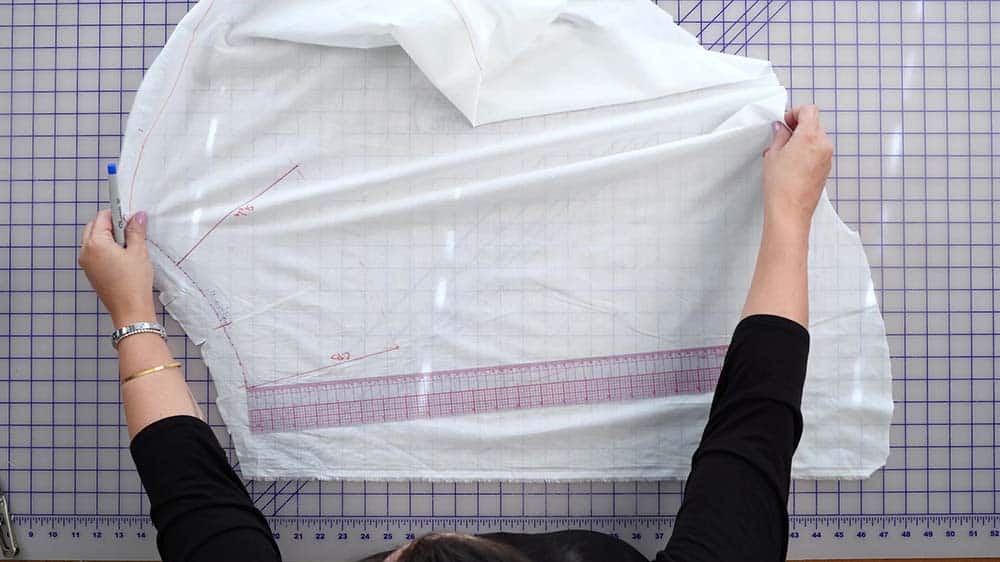
In this session, I demonstrate how to transfer the draped cowl neck bodice onto paper patterns. I prefer pinning the fabric to paper rather than taping to avoid stretching the bias fabric. Tracing the draped lines carefully, I create the front bodice pattern piece, marking important points like the apex, shoulders, armholes and waistline.
Lesson 8
Preparing Skirt for Pattern Transfer
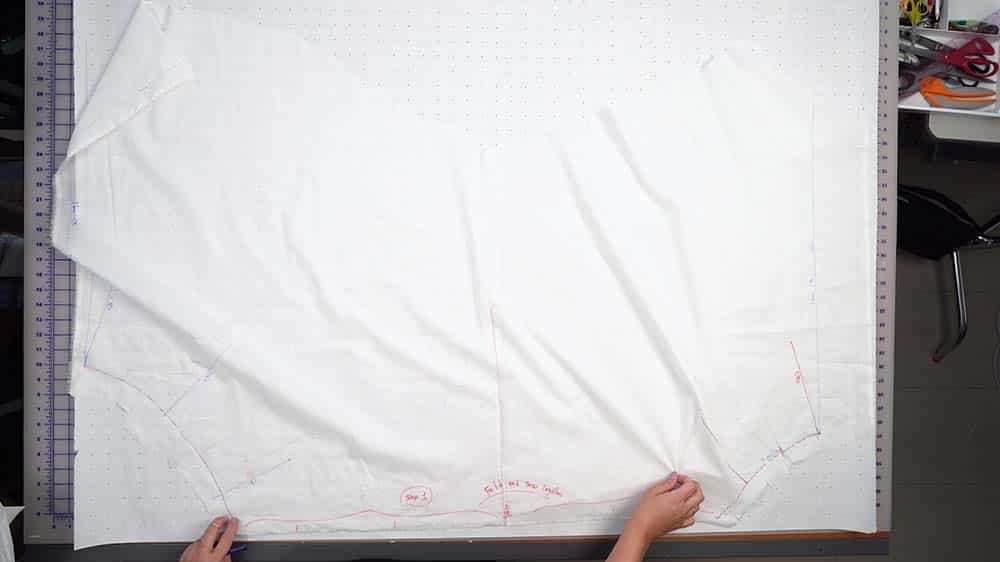
How to transfer the draped skirt onto a pattern paper. I mark all the important points like center front, center back, side seams, and fold lines on the draped fabric before transferring it to the pattern paper.
Lesson 9
Transferring Skirt to Pattern
How to transfer the draped skirt muslin piece onto a dotted pattern paper. The skirt is made from a single piece of fabric with just one seam at the center back, requiring a wide width of around 55 inches.
Sewing
Lesson 10
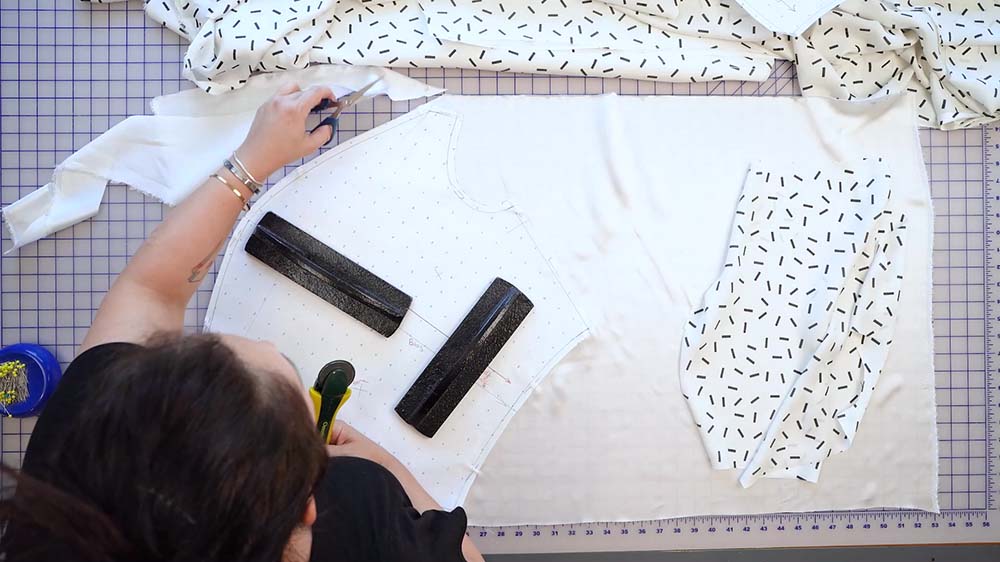
Cutting the Silk Fabric & Lining
How to cut the silk fabric and lining for the cowl neck bias draped dress project. I chose a satin charmeuse fabric, which can be slippery and challenging to work with for beginners.
Lesson 11
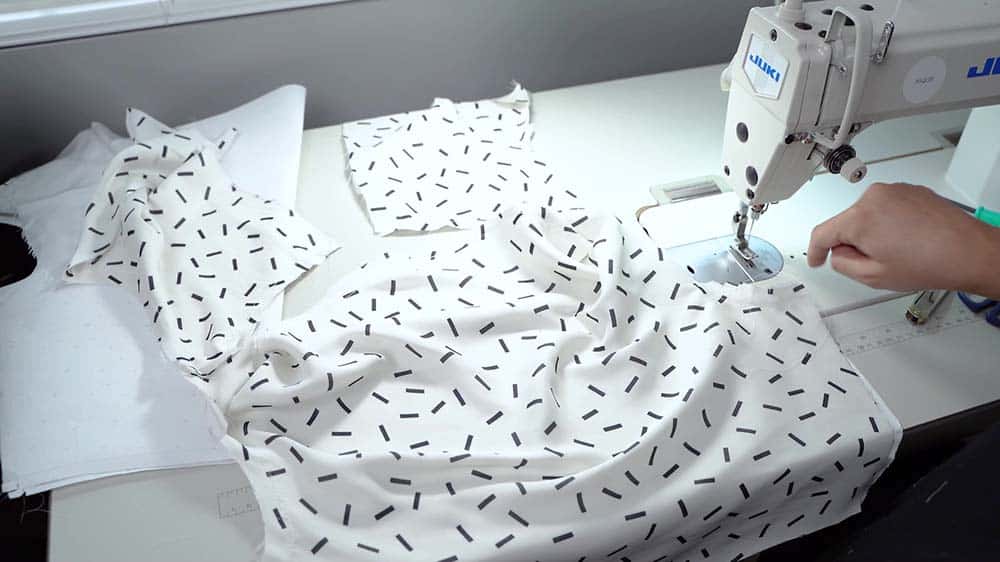
Sewing the Bodice
In this session, I teach how to sew the bodice of the cowl neck bias draped dress. I demonstrate sewing the back darts, attaching the front and back bodice pieces at the neckline and armholes, and finally closing the side seams.
Lesson 12
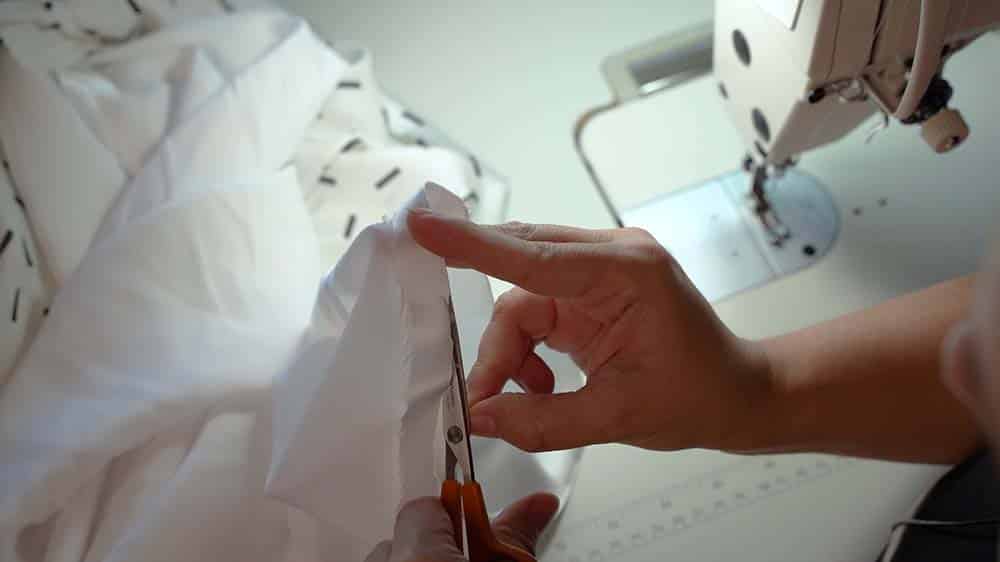
Sewing the Skirt
How to sew the skirt portion of the cowl neck bias draped dress. I first sew the skirt pieces together separately for the outer fabric and lining, then attach the skirt to the bodice. After that, I work on attaching the lining, securing it at the waist before adding the skirt lining.
Final Overview
Lesson 13
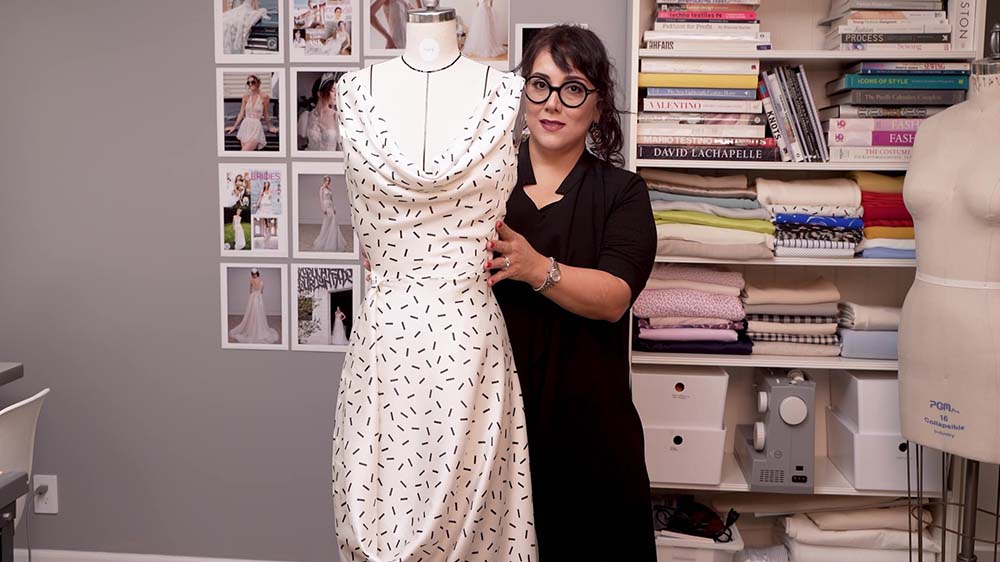
Project Overview
I demonstrate the final steps of assembling the cowl neck bias draped dress, including attaching the lining to the outer shell and finishing the bottom hem. The end result is a flowy, flirty dress with a draped cowl neckline and bias-cut skirt.